
Hello and welcome to today’s blog post. I am absolutely in love with all things cute and the Share A Milkshake stamp set from Stampin’ Up! is definitely for me.
I really wanted to show beginner stampers how easy it is to create a handmade card using just stamps, ink and paper. I do think keeping Basic White Thick cardstock on hand is a must (you can find that on page 140 of the current Annual Catalog or follow the photo link below).
If you do want “all of the things”, Stampin’ Up! currently has a fabulous joining special. It really is the best bang for your buck. I have a link in the Menu section is you want to learn more (or just leave me a comment).
Back to this notecard. Here are the measurements (note the size difference from the standard cards):
Basic White Thick Cardstock card base: 5″ x 7″. Score at 3 1/2″. Cut another piece at 3 3/8″ x 4 7/8″
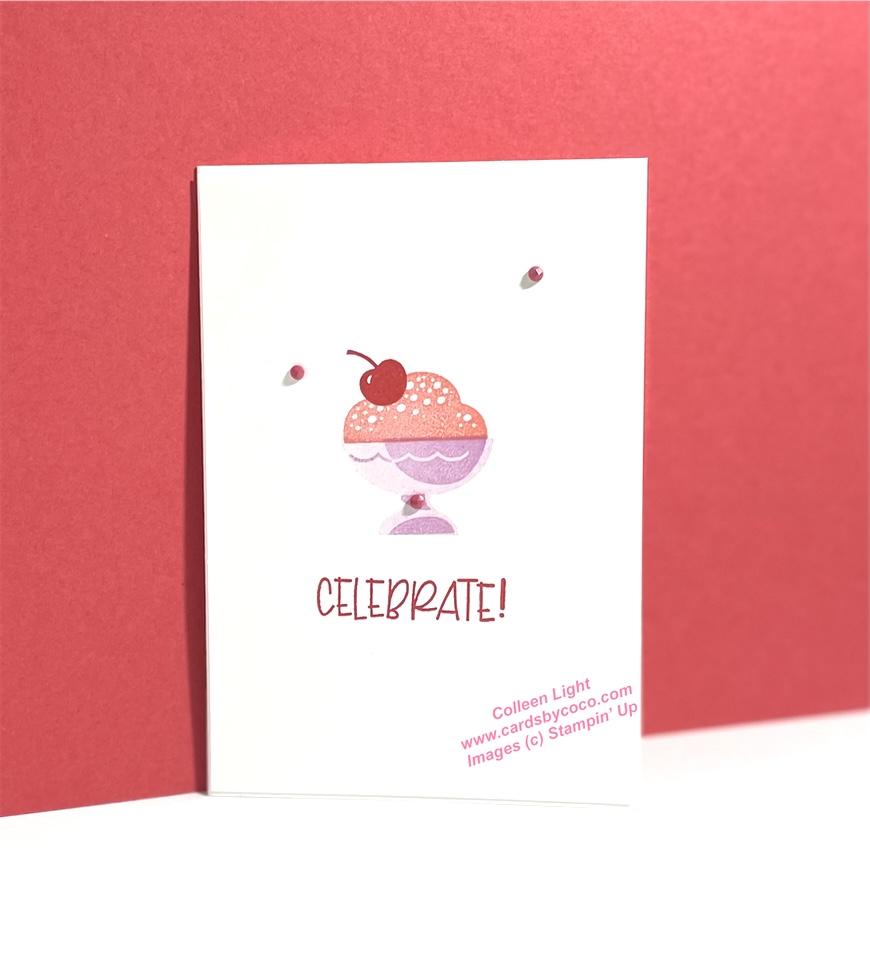
I stamped the ice cream dish using Fresh Freesia ink, the ice cream using Flirty Flamingo ink and the cherry and sentiment using Sweet Sorbet ink. I used the heart stamp on the inside right lower corner of my card. Add some gems if you feel like you want to add a bit more to your card.

If placing an order this month, please don’t forget to use my January Host Code: GFGVXGX9.
Thanks so much for stopping by today. Have a wonderful day, Colleen
Product List
")
$19.00
|

$8.75
|

$8.00
|

$8.00
|

$8.00
|

$8.00
|

$6.50
|

$10.00
|

$25.00
|

$4.00
|